Ir diretamente para o conteúdo

You have received your custom bag sample. It looks close to your design—but is it really ready for mass production?
Before mass production, buyers should check the sample’s dimensions, construction, materials, branding, hardware, stitching, functionality, packaging, and final specifications. Most importantly, test the bag with the actual products it is designed to carry.
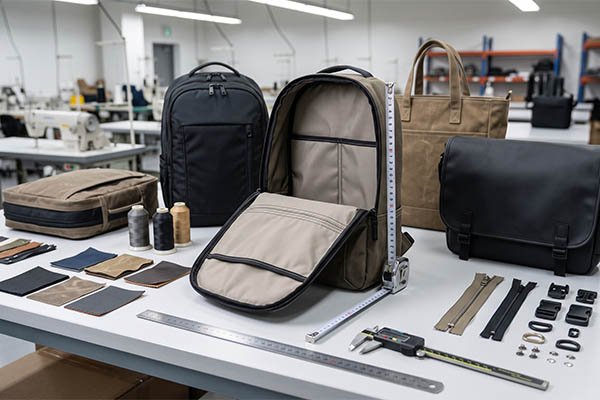
A custom bag sample is more than a visual preview. It is the first physical version of the product that you can actually inspect and use. A good sample approval process helps you find problems while they are still easy to correct.
Why Should You Check a Physical Custom Bag Sample?
A design file can show the planned appearance of a bag, but it cannot show every detail of the finished product. The physical sample gives buyers a chance to compare the design with the actual manufacturing result.
A physical custom bag sample helps buyers confirm the real size, material, construction, appearance, and function before approving bulk production.
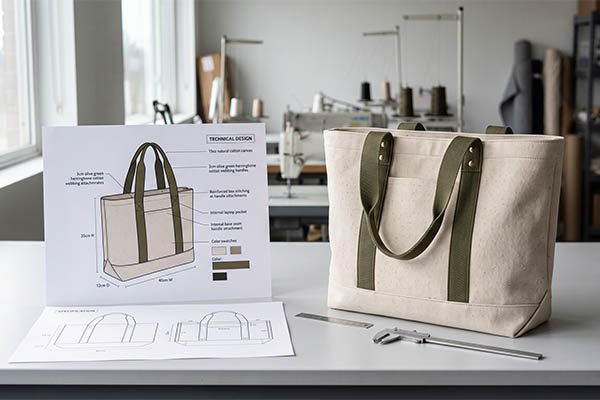
Why Is a Digital Design Not Enough?
A digital design is useful for confirming the basic concept. It can show the bag shape, logo, colors, pocket layout, and other planned details. However, some parts of custom bag manufacturing only become clear after the sample is made.
You cannot fully judge fabric stiffness, hand feel, material thickness, zipper movement, stitching quality, hardware weight, or the actual proportions of the bag from a screen. A bag may also look correct in a drawing but feel different when you hold it.
This is why I see the physical sample as the point where the design becomes a real product. The buyer can measure it, touch it, open it, carry it, and compare it with the original requirements.
What Should You Look for During the First Inspection?
Start with the overall appearance instead of checking every small detail separately. Look at whether the bag has the expected shape and proportions. Check whether the logo, pockets, handles, zippers, and other visible parts are placed as planned.
Then handle the bag.
Feel the material and check whether the structure feels right for its intended use. Open and close the bag several times. Look at the seams and stitching. Check whether the hardware feels suitable and whether the bag keeps its shape when you pick it up.
This basic visual and hands-on inspection can reveal many problems quickly. It also gives you a better understanding of whether the sample feels like the product you originally intended to order.
Why Should Problems Be Fixed Before Bulk Production?
The sample stage is the easiest time to make changes.
If the size is wrong, the pattern can be adjusted. If the logo position is not right, the artwork can be changed. If a pocket is too high or too small, the construction can be corrected before production begins.
The same problem becomes very different after bulk production starts. A small mistake can then affect hundreds or thousands of bags.
Sample approval is the practical checkpoint between product development and bulk production.
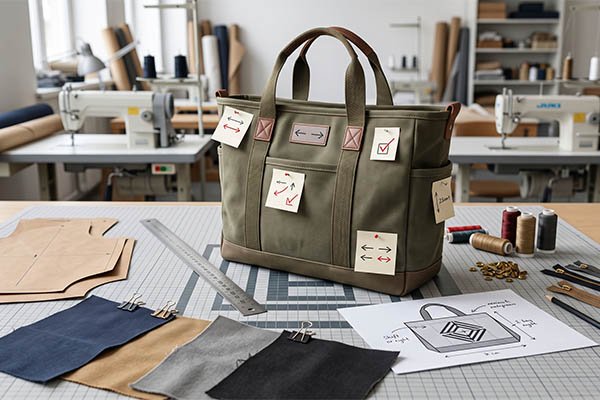
For buyers, this is also where a custom bag sample becomes a quality control tool. You are not only asking whether the sample looks good. You are checking whether the factory has correctly understood the specifications and turned them into a usable product.
What Should You Check About the Material, Logo and Hardware?
The next step is to compare the physical sample with the agreed product specifications. The main fabric matters, but so do the smaller visible components that make up the finished bag.
A custom bag inspection should confirm the material, color, branding, stitching, zipper, hardware, and other construction details before final approval.
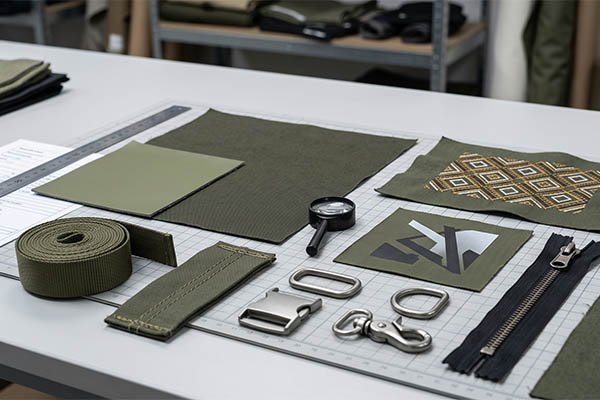
How Should You Check the Material?
First, make sure the sample uses the agreed material. Depending on the project, this may be cotton, canvas, polyester, rPET, non-woven fabric, jute, Tyvek, PVC, or another specified material.
Then look beyond the material name.
Check how the material feels and whether its weight, thickness, stiffness, texture, and finish match the expected product. If the bag has a lining or coating, check that as well. These details can affect both the appearance and performance of the finished bag.
A material can look correct in a photo and still feel different in real life. This is especially common when buyers compare materials only by color. The approved sample should give you a clear physical reference for the final product.
What Should You Check About Color and Branding?
Color should be checked across the whole bag, not just the main fabric. Look at the lining, webbing, zipper tape, thread, and hardware as well.
If the project has a Pantone reference, approved swatch, or other color standard, compare the sample with that reference instead of relying only on a computer or phone screen.
The same idea applies to branding. Check the logo size, position, alignment, and printing or decoration method. Look closely at the edges and overall finish of the logo. A logo that is only a few centimeters away from the correct position may still change the visual balance of the bag.
For a custom printed bag, embroidery, woven label, heat transfer, screen printing, embossing, or other branding method, the final sample should show the actual production result rather than only the artwork.
What About Zippers and Other Hardware?
Hardware is easy to overlook because it usually takes up less space than the fabric or logo. However, it can affect both appearance and function.
Check whether the zipper, buckle, D-ring, snap, or other hardware matches the agreed type and finish. Then use it. Open and close the zipper. Test the buckle. Move the hardware slightly and see whether it feels properly attached.
A zipper that looks fine but becomes difficult to use when the bag is full is still a problem. The same applies to handles and attachment points.
Hardware should be checked as part of the finished bag, not as separate components.
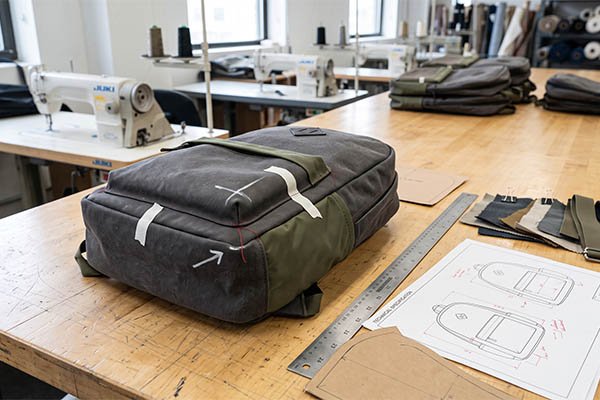
This is where a physical custom bag sample is much more useful than a design file. You can see whether all the parts work together instead of checking each part only by appearance.
How Should You Test a Custom Bag Sample With the Actual Product?
This is one of the most useful parts of custom bag sample approval, but it is also easy to skip.
Do not test the bag only when it is empty. Put the actual products inside and check how the bag performs under real use.
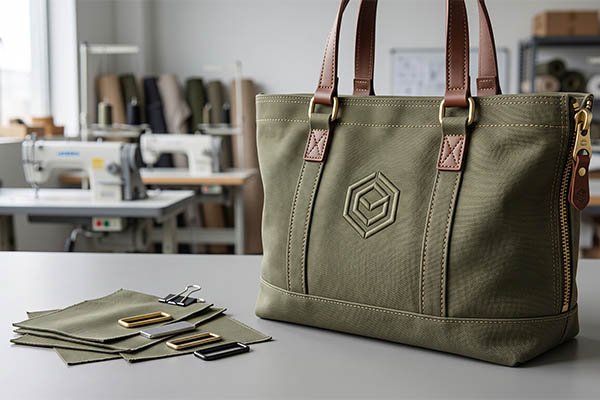
Why Should You Test the Bag When It Is Filled?
An empty bag can look completely correct.
Once you put products inside, the shape can change. The gusset may expand. The bottom may sag. The zipper may become harder to close. A pocket may become difficult to access. The handles may feel different under weight.
These problems are difficult to identify from dimensions alone.
For a cosmetic bag, use the actual bottles, skincare products, cosmetics, or brushes that the customer will carry. For an organizer bag, use real accessories, stationery, electronics, or travel items. For a wine bag, put the actual bottle inside. For a cooler bag, test it with the bottles, cans, food containers, or ice packs that will normally be carried.
The goal is simple. You want to know whether the bag works with the product, not only whether the bag itself looks correct.
What Should You Check During the Real-Use Test?
Pay attention to how the bag changes when it is loaded.
Check whether the products fit without forcing them inside. See whether the opening is large enough and whether the zipper still moves smoothly. Look at the bottom and corners to see if the bag keeps its intended shape.
Also check the pockets and compartments. A pocket can have the correct dimensions on paper but still be difficult to use once the main compartment is filled.
The handles deserve attention too. A handle that feels comfortable on an empty tote bag may feel too thin, too short, or poorly positioned when the bag carries several kilograms.
The right custom bag sample testing method depends on the application. A cosmetic bag needs easy access and usable capacity. A wine bag needs secure bottle support. An organizer bag needs practical compartments. A tote bag needs comfortable carrying.
The right sample approval checklist should follow the bag’s real application, not only its appearance.
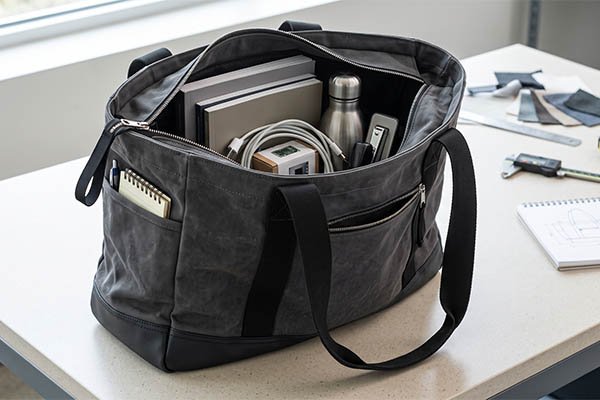
This is one area where a manufacturer’s experience can be useful. A bag can meet every drawing dimension and still perform poorly in actual use. Testing the finished sample with the intended contents gives buyers information that a specification sheet cannot provide by itself.
What Should You Confirm Before Approving the Sample?
After the physical inspection and real-use test, the next step is to compare everything with the final requirements. This is where individual observations should become one clear approval record.
A final sample approval checklist should cover the sample version, dimensions, material, construction, branding, hardware, function, packaging, and production specifications.
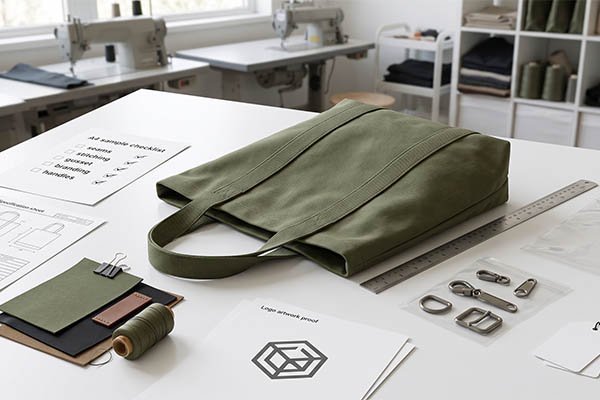
What Should Be Included in a Sample Approval Checklist?
You do not need to create a complicated quality report for every sample. A simple checklist can cover the main areas that affect the final product.
| Check Item | What to Confirm |
|---|---|
| Sample Version | Latest sample and revision |
| Dimensions | Width, height, depth, gusset |
| Material | Type, weight, thickness, finish |
| Cor | Approved color reference |
| Construction | Shape, seams, pockets, handles |
| Logo | Size, position, and method |
| Hardware | Type, finish, and attachment |
| Function | Opening, closure, carrying, use |
| Capacidade | Actual product fit |
| Packaging | Final packaging requirements |
| Specifications | Agreed production details |
| Approval | Written confirmation |
This kind of checklist works well for both buyers and suppliers. It keeps the discussion focused on the actual product instead of relying on general comments such as “looks good” or “please make it better.”
How Should You Record Sample Changes?
Clear communication becomes more important when a project goes through several sample revisions.
Avoid instructions such as “move the pocket a little lower.” A factory may understand “a little” differently from the buyer.
A better instruction is:
Move the side pocket 20 mm lower from the current position.
This gives both sides a clear reference.
For larger projects, it is useful to record the sample version, date, change, measurement, and reference point. This makes it easier to compare the new sample with the previous version and reduces confusion when several people are involved in purchasing, production, and quality control.
What Should You Do If the Sample Needs Changes?
Not every change needs the same level of action.
A small logo adjustment or minor measurement correction may only need to be recorded in the final production specification. A change to the material, bag structure, zipper, handle construction, or pocket layout can have a larger effect on the finished product.
When a change can affect the final appearance, function, or production method, it is safer to confirm the revised result before bulk production.
A simple process can be:
Sample Review → Corrections → Written Confirmation → Final Approval → Mass Production
The important part is not making the process complicated. It is making sure both sides agree on exactly what will be produced.
Should the Approved Sample Become the Bulk Production Reference?
The approved sample should be an important production reference, but the physical sample should not be the only reference.
The strongest production reference combines the approved physical sample with final specifications, artwork, and material references.
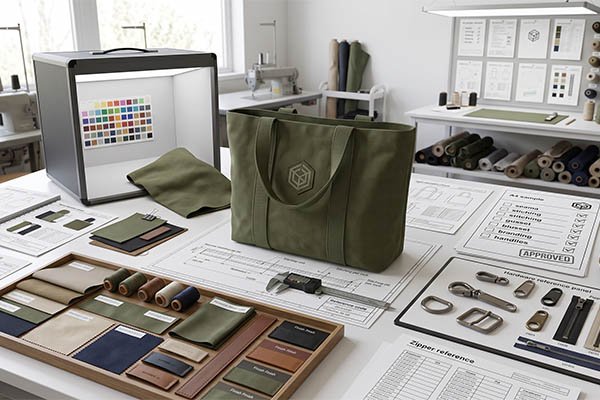
A physical sample can show the factory and quality control team how the finished bag should look and feel. It can also help them compare the size, construction, logo, stitching, hardware, and overall appearance during custom bag production.
However, some details are difficult to judge from a physical sample alone. A measurement such as a logo width of 8 cm, a bag height of 40 cm, or a specific material weight should be written down.
The same applies to artwork and color references. The approved artwork should remain available, and important material or color references should be recorded with the order.
This creates a clearer production standard:
Approved Physical Sample + Final Specifications + Artwork + Material References
This approach also helps with bag quality control after production starts. If a buyer needs to inspect a production batch, the QC team can compare the finished bags against both the physical sample and the written requirements.
It also helps when the same bag needs to be reordered later. The supplier does not have to depend on memory or an old conversation. The approved sample and specifications provide a clearer starting point for the next production run.
A good custom bag sample approval process is therefore not about finding every possible problem. It is about checking the things that can affect the final product, testing the bag in real use, and making sure the approved version is clearly recorded before bulk production begins.
Conclusão
A careful custom bag sample check helps buyers confirm appearance, quality, function, and specifications before the factory turns one approved sample into hundreds or thousands of bags.
FAQ
Q: How many custom bag samples should a buyer request before placing a bulk order?
A: One sample is often enough for a simple bag, while more complex projects may benefit from additional samples for different sizes, colors, or construction options.
Q: Who normally pays for a custom bag sample?
A: The buyer usually pays the sample cost and shipping. Some manufacturers may refund part or all of the sample fee after a confirmed bulk order.
Q: How long does a custom bag sample usually take to make?
A: Simple samples may take several days, while bags with custom printing, special materials, complex construction, or custom hardware may require more time.
Q: Can a buyer request samples in different materials before choosing one?
A: Yes. Buyers can request material swatches or sample versions to compare options before confirming the final material for production.
Q: Should the buyer keep the approved sample after mass production?
A: Yes. Keeping an approved sample can provide a useful physical reference for future reorders, quality discussions, and comparisons between production batches.
Q: Can a manufacturer make a sample from an existing bag design?
A: Yes. A manufacturer can often develop a sample based on drawings, measurements, reference products, photos, or an existing physical bag, depending on the project.
Q: Can the same custom bag sample be used for future repeat orders?
A: It can serve as a reference, but repeat orders should still use the latest confirmed specifications and artwork to account for any approved changes.
Q: What information should a buyer send before requesting a custom bag sample?
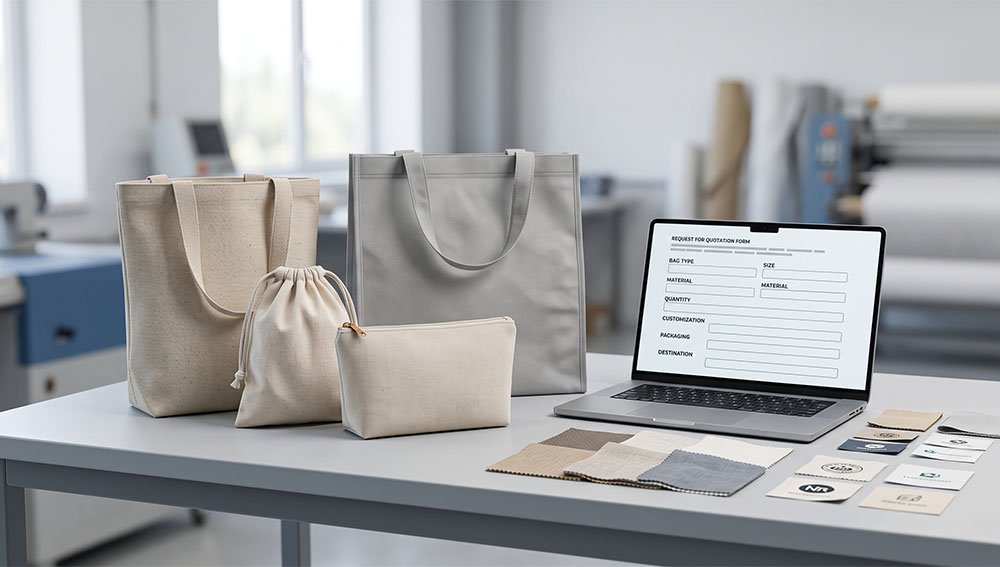
A: Useful information includes the bag type, approximate dimensions, material preference, quantity, logo artwork, intended use, required accessories, and delivery destination.
Q: Is it possible to approve a custom bag sample remotely?
A: Yes. Buyers can review photos, videos, measurements, and physical samples sent by courier. For projects with strict requirements, receiving the physical sample is usually more useful.
Q: Should a buyer approve the sample before confirming the final bulk order details?
A: The buyer should confirm the final specifications, pricing, quantity, packaging, and other order details before giving production approval so both sides are working from the same information.
 English
  Deutsch
  Español
  Português
  Русский
  العربية
  Français
  Italiano
  日本語
日本語  한국어
한국어  Dansk
Dansk