Skip to content

We buy countless ready-made canvas products from the market. Canvas bags, baskets, mats, purses, etc. It’s easy and convenient. But nothing compares to the joy of making something yourself. In this case, a canvas bag.
Engaging in DIY activities for a canvas bag can add personalization to your life. You get to decide how deep or how big you want your bag to be. You pick the style and the aesthetics.
You can use old mats, pillowcases, cushion covers, towels, and t-shirts for your DIY bag project. However, in this article, we narrow our focus to TWO ways of making a canvas bag out of t-shirts. Followed by some ways you can decorate them.
Ways Of Making A Canvas Bag Using A T-shirt
One of the great things about canvas bags is that you can make them however you like. And there are actually many ways to do that. Here, we show two methods you can repurpose your old t-shirts.
Method #1
Things you’ll need:
- Cotton t-shirt
- Straps
- Sewing machine
- Thread
- Needle
- Scissors
Step 1: Lay out the t-shirt on your work surface.
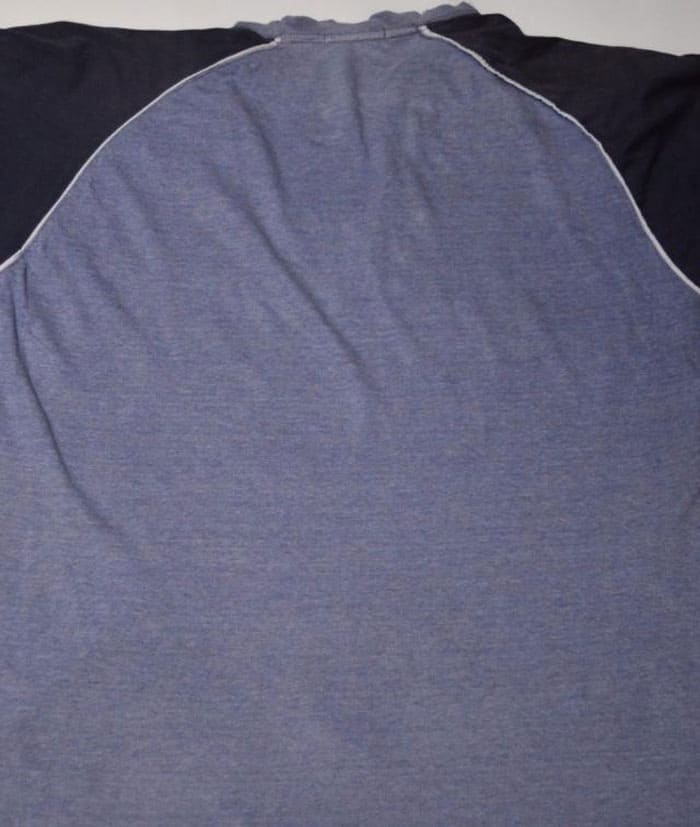
Step 2: Cut it horizontally, with 2×2 inches corners. You can also go for more inches if you want to add more depth to the bag, as shown in the picture below.
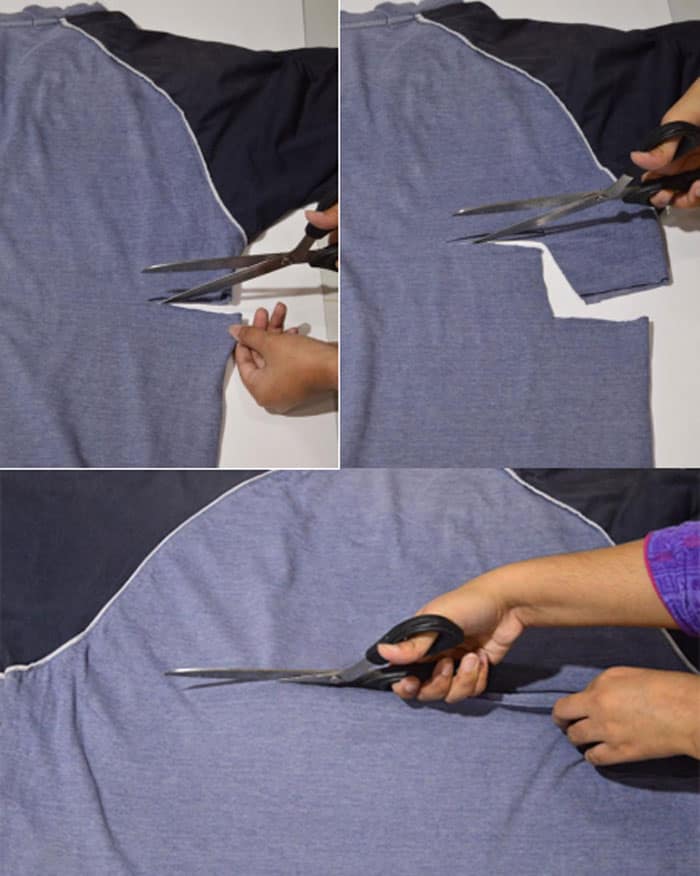
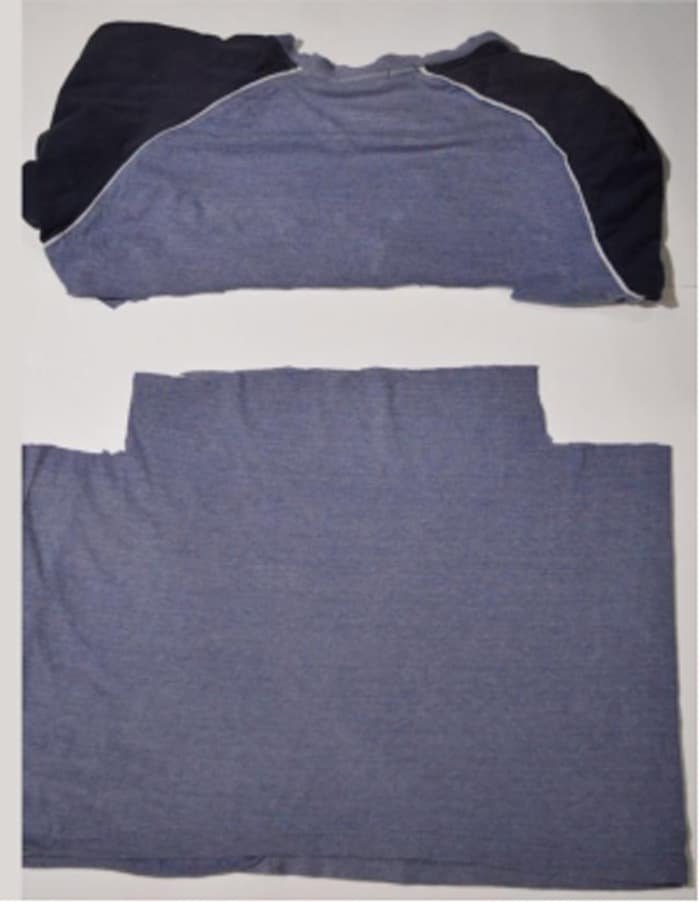
Step 3: Get rid of the top part and start working on the bottom one.
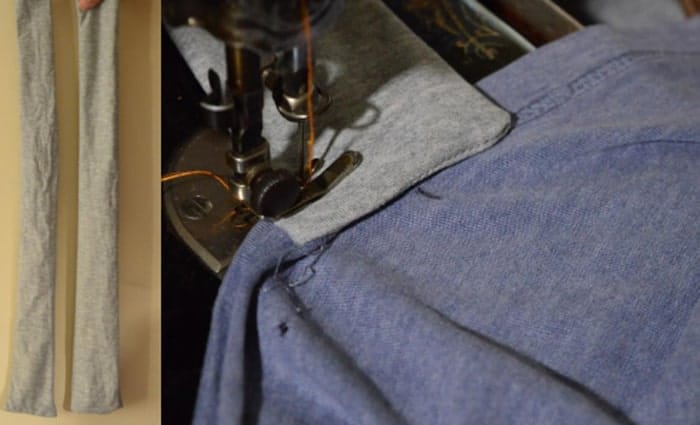
Step 4: Turn the shirt inside out before feeding it to the sewing machine. Stitch the upper side with it.

Step 5: For stitching up the corners, unfold them sideways. As demonstrated in the picture below, sew them in the same direction.

Step 6: Straps!
You can cut them out from the sleeves of your shirt.
Attach them to the bag’s opening and keep the same distance from both sides. In the example here, I’m leaving 5 inches of space from both sides. You can stitch them with a thread and needle or a sewing machine. Whichever way is easy and accessible for you.
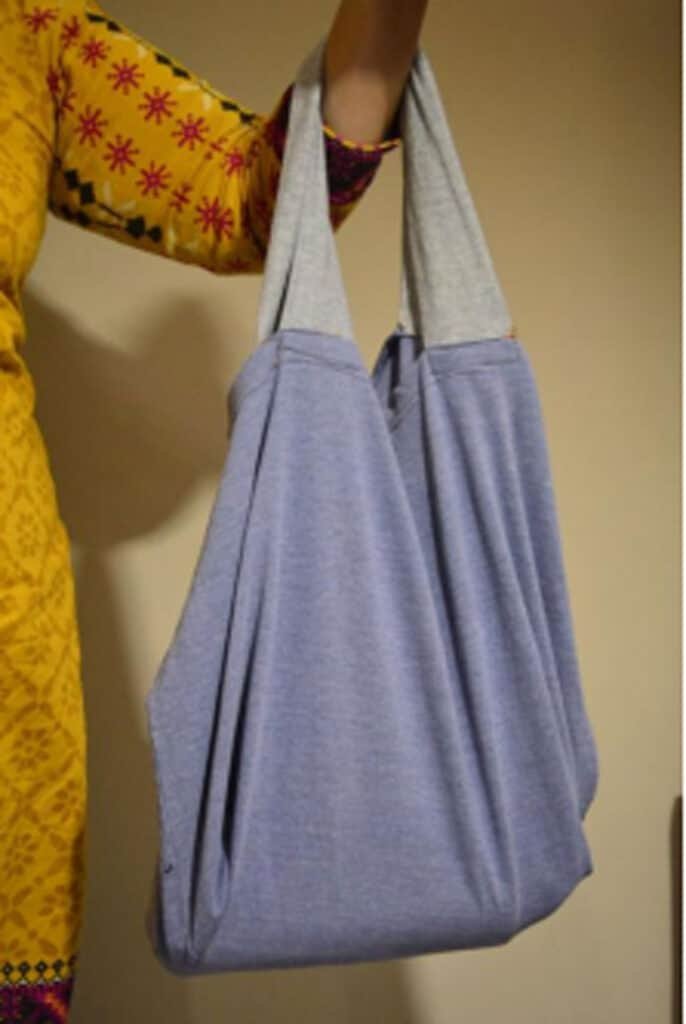
Step 7: Turn the bag inside out, and voila! Your canvas tote bag is ready!
Sounds a bit complicated? Don’t fret! Here’s a simple cut design that doesn’t even require any sewing! It’s just you, your scissors, and a t-shirt.
Method #2
Things you’ll need:
- T-shirt
- Scissors
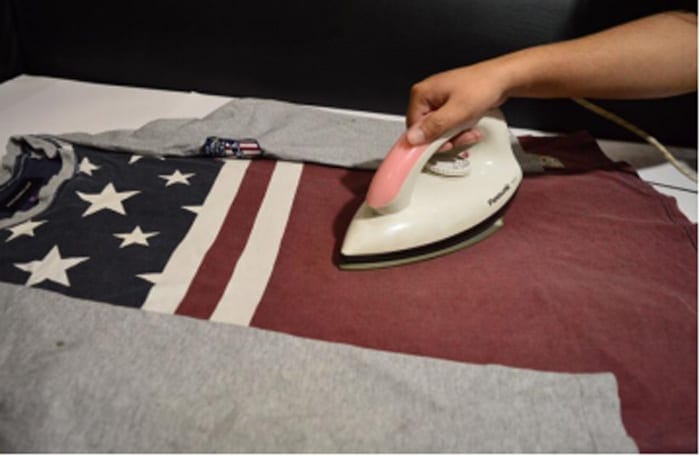
Step 1: Iron the shirt until you straighten out all the creases. And lay it out on the table.
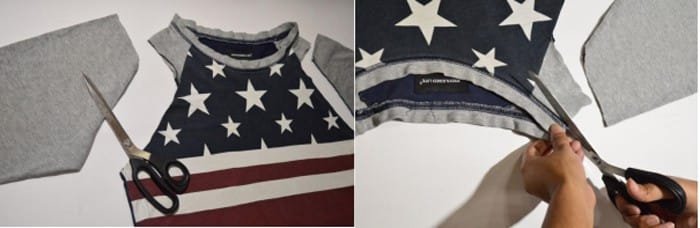
Step 2: Simply cut the sleeves and the neckline using your scissors.
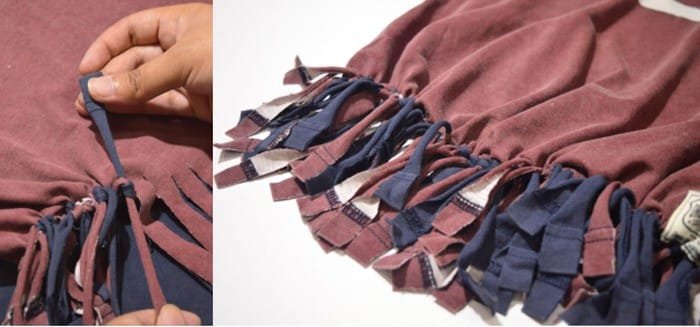
Step 3: Make vertical cuts at the bottom in the form of fringes.
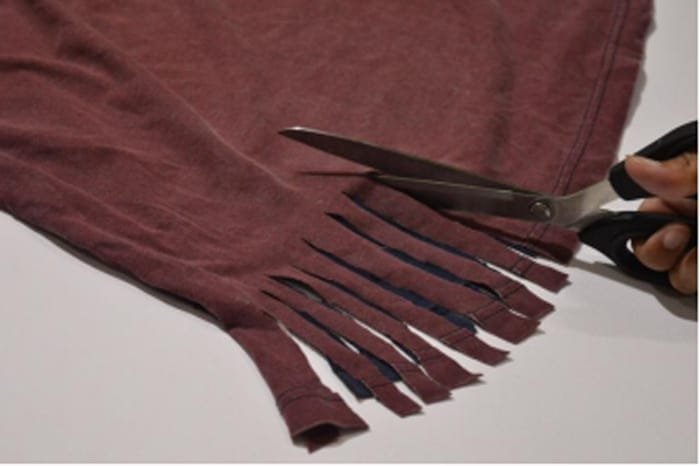
Step 4: Tie knots with every two dangling pieces; one fringe from the top and one from the bottom. Make sure you tie the knots twice so they don’t come undone.
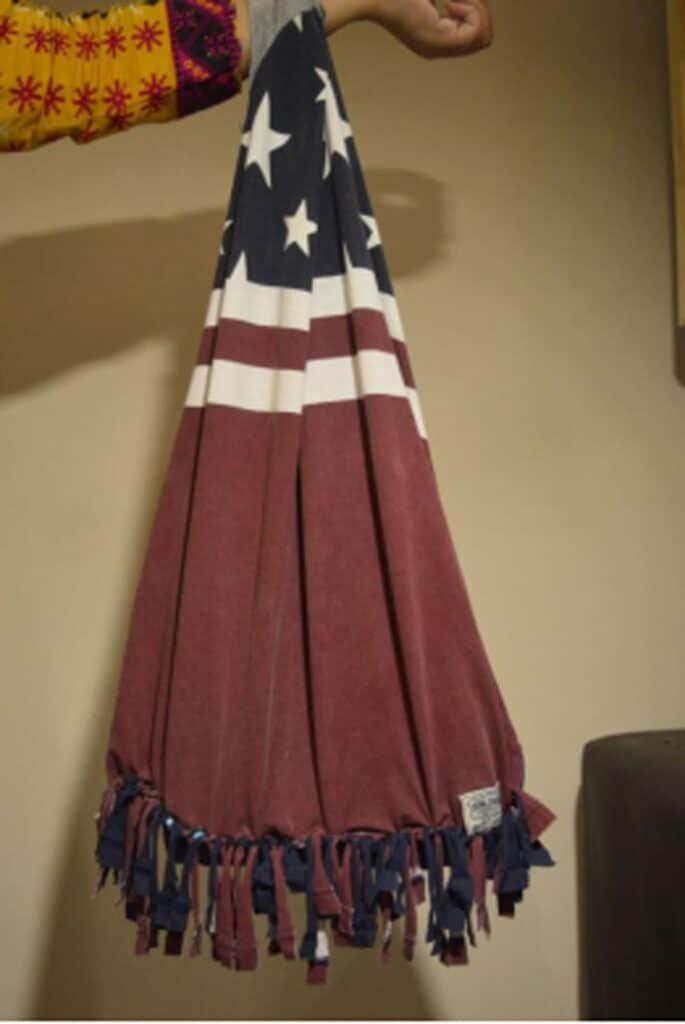
Your shoulder canvas bag is ready for you to take it out for a spin to the grocery shop or the market!
Want to take this one step further? Read on as we explore different ways you can decorate your hand-made canvas tote bag!
6 Ways You Can Decorate Your Canvas Bag
After you create the perfect canvas bag, the next step is to give your bag the “zing” it needs to really stand out. Here are some ways you can decorate your canvas bag.
Spray painting
For putting a geometric spin on your canvas bag, you can use spray paint!
Start by drawing a geometric pattern on the bag. You can use a pencil for this or even a pen if you feel comfortable enough. After you have the pattern down, tape the areas of the shapes you don’t want to dye. Typically, we cover the shape’s boundary with tape.
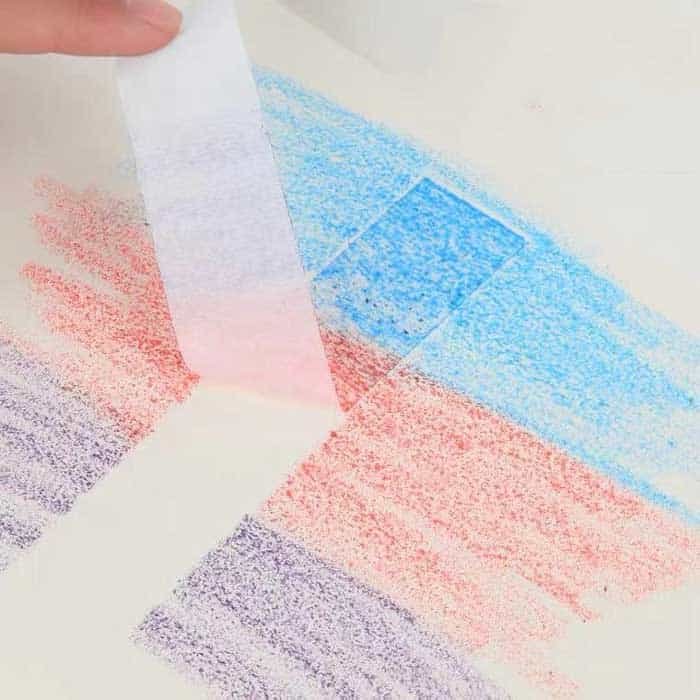
Now, spray away with your favourite colours!
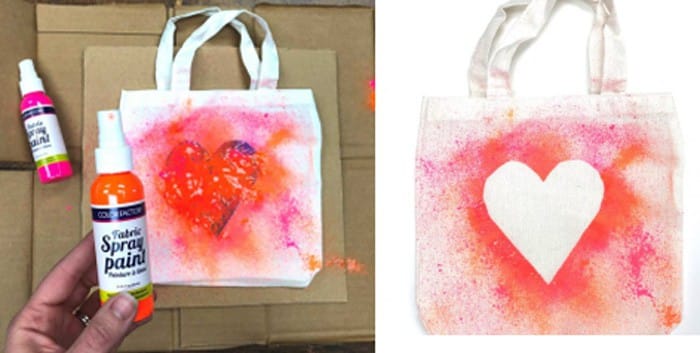
Move the spray paint bottle nearer for a darker shade. In contrast, if you want a lighter shade, move the bottle away from the bag.
Once you’re done with the spraying, take off the tape and watch your creation unfold!
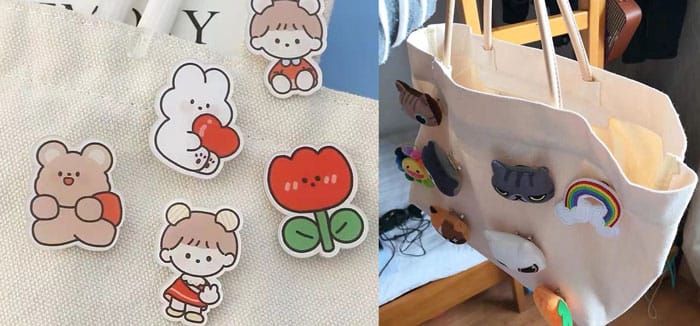
Badges & Motifs
Got any badges that showcase what you stand for? Pin them on! You could pin a central badge on your bag or cover it all over with your badges. The choice is yours!
Your motif could take the shape of a logo, pattern, or design. Let your creativity run wild.
Beads & ribbons
With beads, you have endless possibilities. You can attach beads with a hot glue gun. If you’re a fan of the craft of embroidery, you can also use a thread and a needle.
When it comes to the beading, you can:
- Cover the whole bag with the same bead shape and colour.
- Cover the whole bag with the same bead shape but different colours.
- Pick two different colours and align them in vertical stripes.
- Pick seven colours and turn your bag into a rainbow art piece.
- Attach several bead shapes in a check pattern. The beadings of every check could be different from the adjacent one. It’s all up to you!
- Attach beads on different geometric shapes on the bag.
- Glue the beads in the form of polka dots.
- Arrange the beads in a flower pattern. One flower in the centre or small flowers all over!
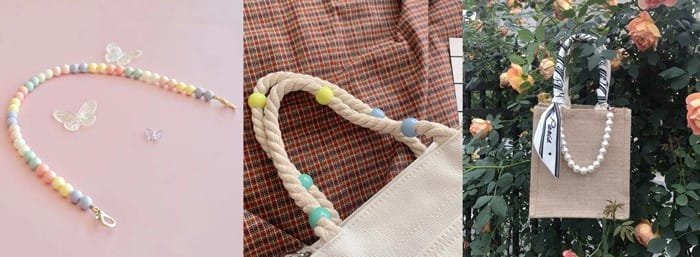
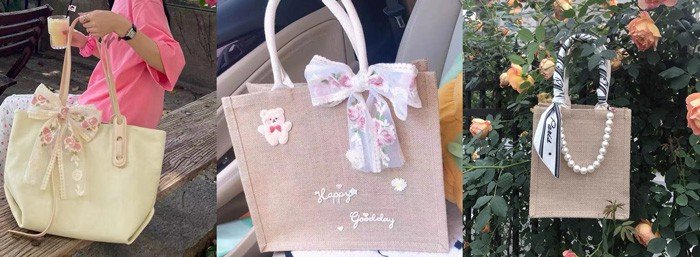
You can attach ribbons with the help of a hot glue gun, needle and thread, or a sewing machine.
When it comes to the ribbon design, you can:
- Tie a bold bow around the bag’s handle or strap.
- Create multiple small, cute looking bows and glue (or stitch) them all over the bag.
- Glue or sew them in vertical or horizontal stripes. You can use two colours in contrast, or multiple colours like a rainbow. You can also add a gradient effect using different shades of the same colour.
- Line only the edges or sides of the bag with your ribbon.
Having a hard time choosing between beads and ribbons? Use a combination of both for your bag! After lining your bag with the ribbon, you can attach beads in flower patterns on top of them. You can also glue buttons on the ribbon stripes.
Cut and stitch different shapes and designs
If you’re not good at drawing, you can trace different designs and shapes! Trace them on the fabric of your choice, cut them out, and sew them on your bag. You can also use a hot glue gun to stick your cutouts to the bag.
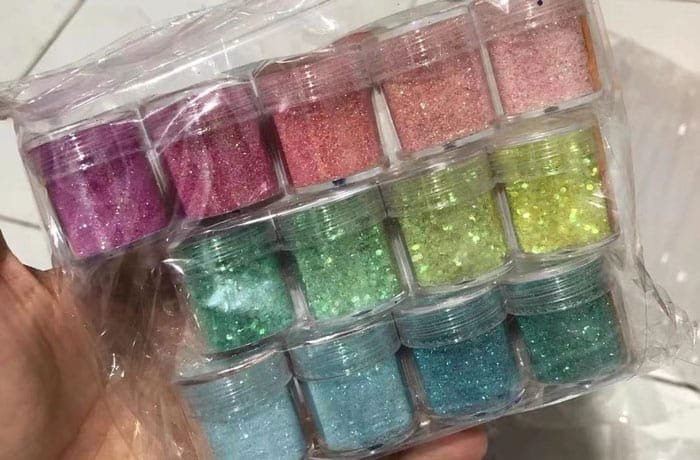
Glitter art
Who doesn’t love a bit of sparkle on their bags? Bedazzle your bag with some fairy dust!
Use the nozzle of the hot glue gun to spread out the glue. Spread it out only to the areas you want to glitter. Next, sprinkle your glitter all across the bag. Gently shake your bag to let the stray glitter fall off.
Note: Before sprinkling and shedding the glitter, place a newspaper underneath. So you don’t waste the glitter. You can fold the newspaper in half and pour the glitter back into its bottle.
Fabric Painting
If you’re good with a paintbrush, you can paint your bag. Grab a bunch of fabric paints and get going! You can paint:
- A portrait of yourself or your friend. Or better yet, a portrait of you two together!
- An abstract design with the same colour or different colours.
- Your life’s motto in a sentence or two.
- Geometric shapes in the form of patterns. Circles, squares, rectangles, parallelograms, rhombus, trapeziums, etc.
- Nature’s aesthetic. Flowers, leaves, beach treas, butterflies, dragonflies, birds, etc.
- The earth’s view from outer space. It will show that you’re eco-conscious and care about the planet. After all, that is the purpose of using a tote bag, right?
You can also use acrylic paint for this!
If you want to get down and dirty, you can also dip the inner side of your hand(s) in paint. And create memorable handprints on the bag.

Summary
Repurpose old shirts into a canvas tote bag to save the planet and add personalization to your life. Decorate it with geometric shapes, badges, beads, ribbons, glitter and paint.
Want to enjoy the joys of customization without putting in any effort? You can leave it all to us. Here, we put together bags according to your preferences in shape, fabric, colour, and more!